
Share This Post:
Creating Web Forms
Website Forms are the standard for collecting information about a lead or customer. What isn’t standard is how useful the information becomes when it’s entered through the Voicent Web Form. Using Voicent’s web form, you can immediately capture the results of the submission, assign CRM field values, initiate drip campaigns, and even track customer website activity using a Landing URL.
In this article we’ll discuss how to create a web form using Voicent software so you can quickly deploy lead collection mechanisms without coding the entire process yourself.
Where to Start
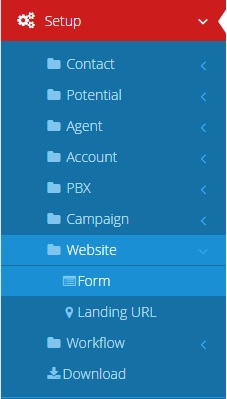
Go to the Website Form page by selecting the menu option “Setup > Website > Form” depicted below.
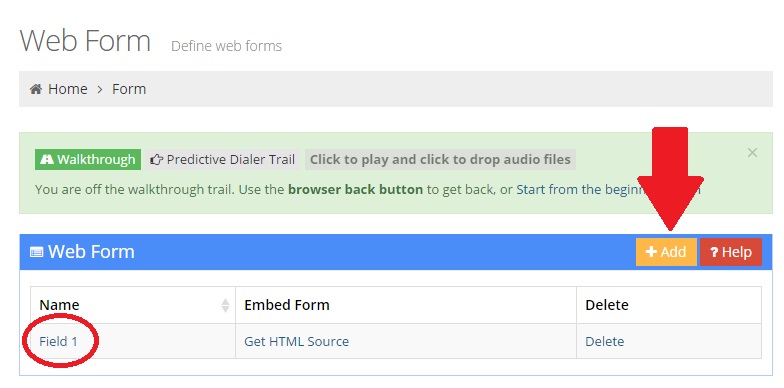
Once you’ve made it to the web form page, you’ll be able to add new web forms as well as edit existing web forms. To add a new web form, simply click the yellow “+ Add” button. To edit an existing web form, click on the name of the web form. Look at the picture below if you’re having trouble.
Adding a New Web Form
To start making your new web form, you’ll need to give the name of the form first. Once you’ve done this, you’ll need to provide the forward URL (this is optional). This is the URL the visitor will be taken to once they’ve submitted the form. The next step is selecting the module you will want to use: customer, organization, ord potential. This is telling your CRM what kind of entity the information will be entered as. Customer option enters the information as a regular contact. Organization option will enter the information as a company, which is a container for several contacts. Potential option enters the information as a value-based pairing, giving you an idea of how much money they are willing to invest in your product or service.
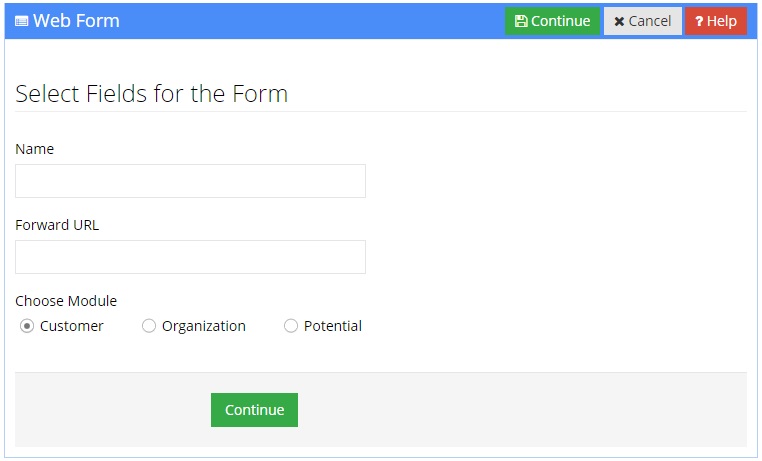
Once you’ve filled out the previous information, you can hit continue and move onto the field selection process. This part determines what information you’re collecting from your leads, such as their name, phone number, or custom field that you’ve created. From the Customer Fields box, click any fields on the left-hand side you would like to prompt the customer for. The fields will populate the right-hand side of the field selection box.
Now you’ll need to decide what you’d like to set the “Assigned To”, “Category”, “Contact Status”, and “Lead Source” fields of the CRM record to be created. You can either leave them blank, or put more descriptive information in them, such as “Lead Source: Website Price Form”. Once you’ve done this, hit “Save” and then take a look at your new web form!
Viewing Your Web Form
In order to view your web form, go to the Web form page. If you’re unsure just follow the instructions at the top of this page. Now, click on the button that says “Get HTML Source” next to the name of the web form you’d like to view. This will generate a pop up that looks like the following:
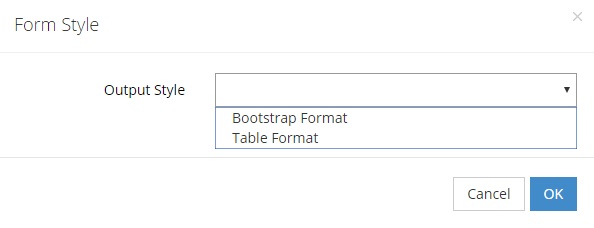
This page lets you select the output type for the form. You can either choose a bootstrap-enabled format, or the table format. If you are unsure of which one to pick, try using the table format, you can always try using the other format later.
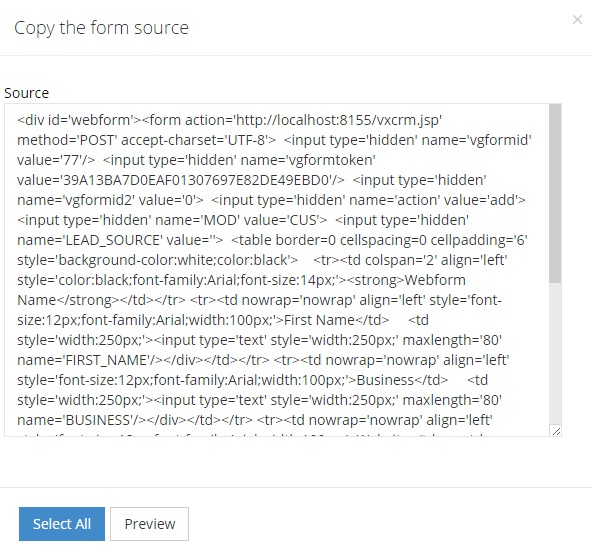
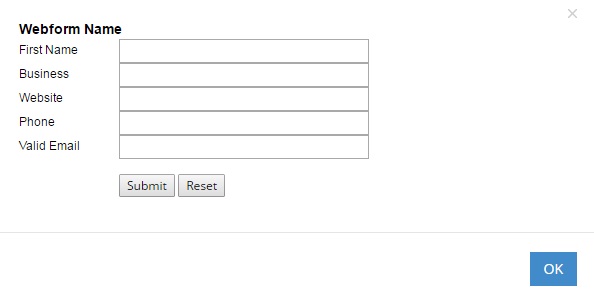
Once you’ve selected the output format, you’ll be given the source code of the form. With this, you can add the form into an existing web page by copying and pasting the code. You will need to change localhost to the external IP address of the Voicent App, unless the website and the Voicent App are hosted on the same machine (confused? we offer professional setup services). Alternatively, you can preview the form using the preview button (the preview does work, and will submit the data if you hit submit). The preview for a form that collects the first name, business name, website URL, phone number, and email will look something like this:
Share This Post: