
Share This Post:
Workflow Triggers
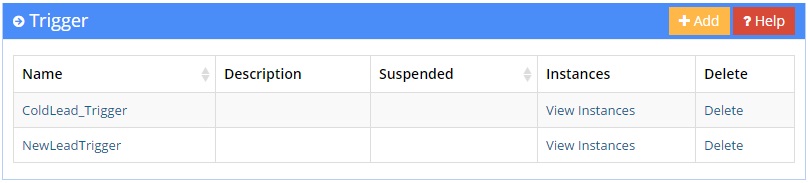
Triggers are an essential part of Workflow Automation. By utilizing this functionality, you can eliminate performing routine tasks. To start making your workflow trigger, go to Setup > Workflow > Trigger. Once you’re here, you’ll be able to either add a new trigger or edit an existing one. Click “+Add” to add a new trigger.
Once you’ve clicked on Add, you should see some options like the ones below:
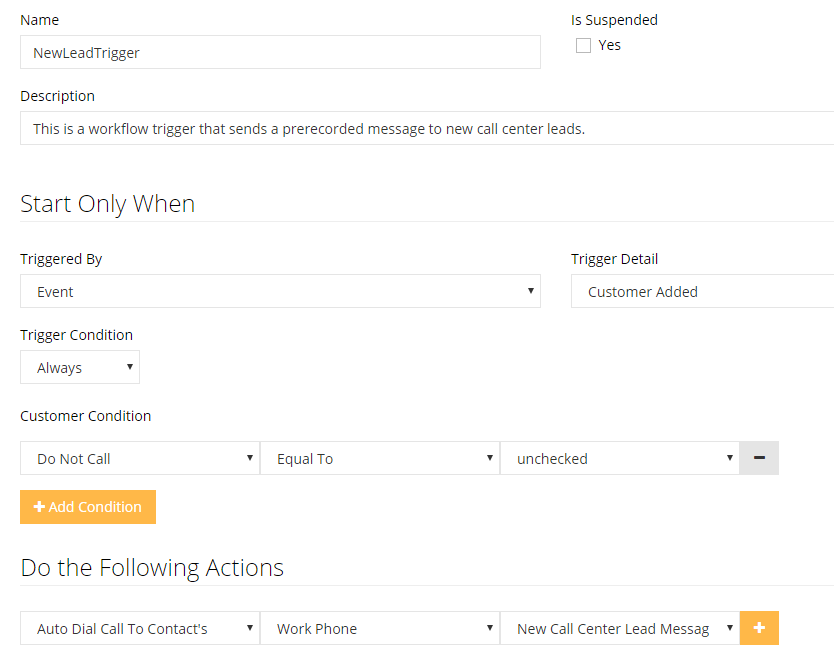
Now that you’re on the trigger creation page, you’ll need to configure your trigger to be activated on certain CRM events. Once you’ve specified what the trigger condition will be, then you can specify what actions the trigger will produce. In the example above, the trigger will be activated once a CRM record has been added. There is an additional condition: the new CRM record must not have the “Do Not Call” option checked, preventing unwarranted engagements.
Once the trigger has been activated, it will perform the specified actions. In this case, it will send an Auto Dialer message (“New Call Center Lead Message”) to the lead. Triggers can perform a wide array of actions, not limited to Auto Dialing. With triggers you can utilize Voice, Text, and Email broadcasting capabilities. That being said, the actions aren’t limited to just broadcasting. Triggers are also very useful for updating CRM fields, notifying agents, and even setting follow ups.
Share This Post: