
Share This Post:
Workflow Set-up Sample
“Need assistance in programming the system to call toll free numbers (about 10 in total) and if there’s no answer, try 3 times every 2 minutes and if there’s no answer, send an email to a distribution group. If the call is answered I would like for a confirmation email to be sent as well ”
There are various ways to set this up. With the small call list, we will set up triggers for individual contact/number.
1. Set auto-dialer message
Create an auto dialer campaign message and save it. make sure to set the press 1 for confirmation.
To do this, go to Set up> Campaign>Message>Add.
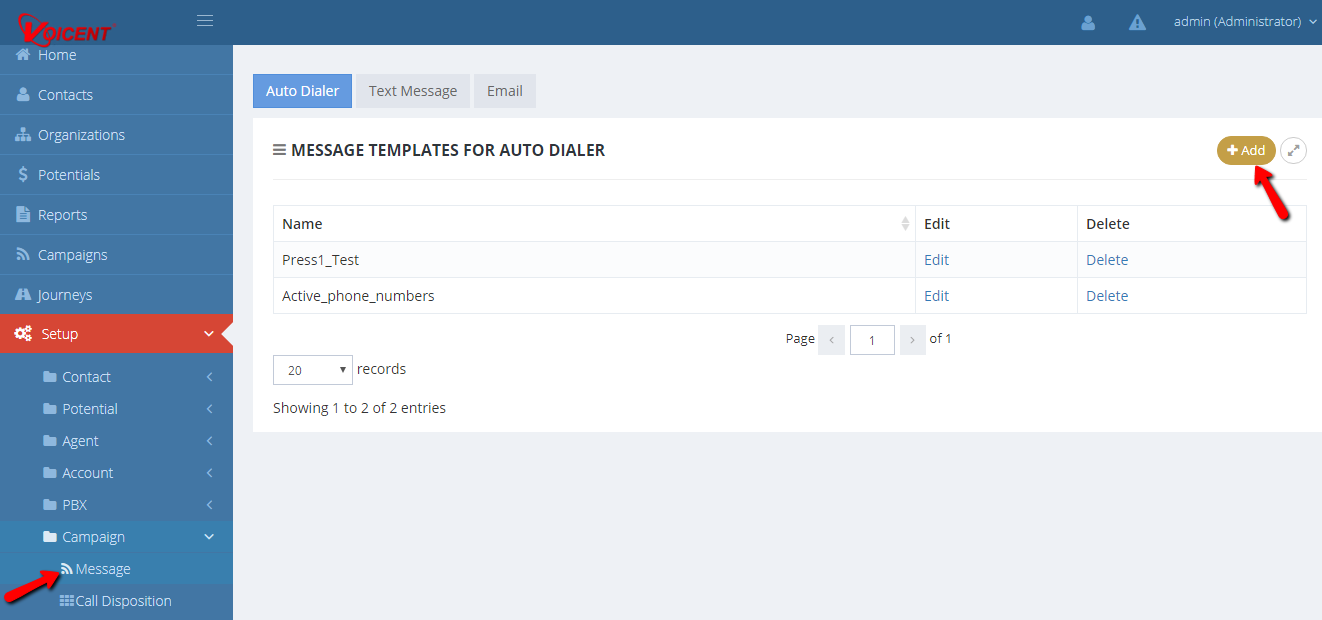
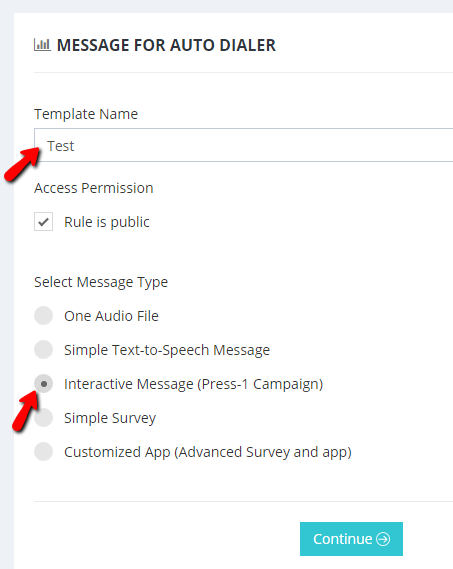
In the “Message for Autodialer” screen, enter the template name and select “Interactive Message (Press-1 Campaign)” for message type. Click on continue.
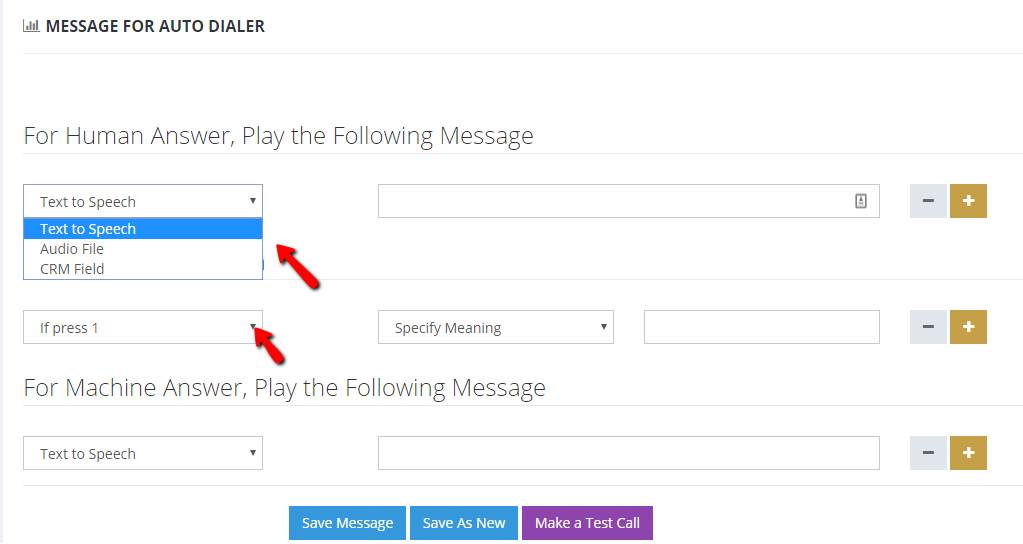
On the next screen, set-up either a Text-to-speech or an audio message and then For Confirmation, select “if press 1″ >”specify meaning” then type the applicable meaning if callee presses 1.
For machine answer, we can also set up either a Text-to-speech or a recorded audio message. Click on “Save Message”
2. Custom Fields
The workflow engine is a generic process automation software. In order to customize it for the desired result, we need to approach this a little like programming. First, we need a custom field for remembering how many times a particular number has been called. We name it “calls_retried” and as a number. We will use the standard Contact Status field for call result.
To do this, go to Set-up>Contact>Custom Field>Edit
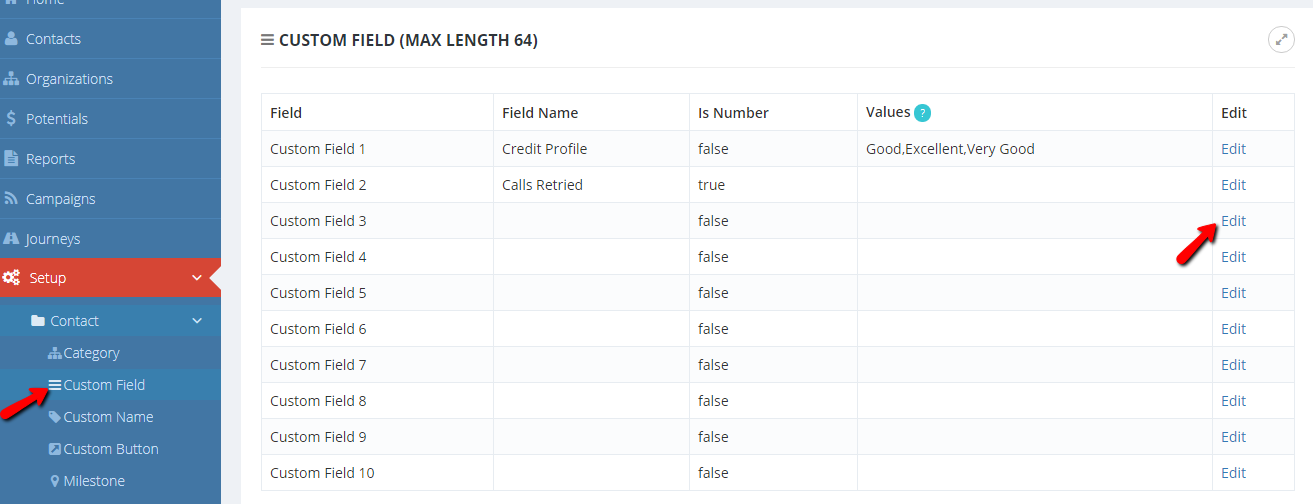
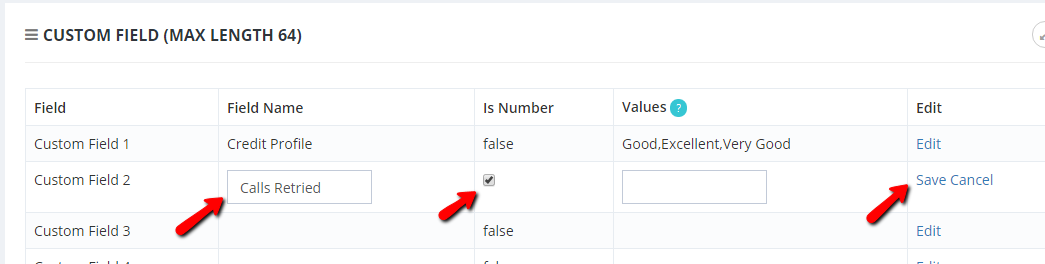
After clicking Edit, put “Call Retried” under Field Name, put a check mark under “Is Number” and click Save.
3. Call Disposition Rules
We use call disposition rules to keep track of the call status, one for successful calls, and the other for failed ones. You need to set-up 3 Call Disposition Rules.
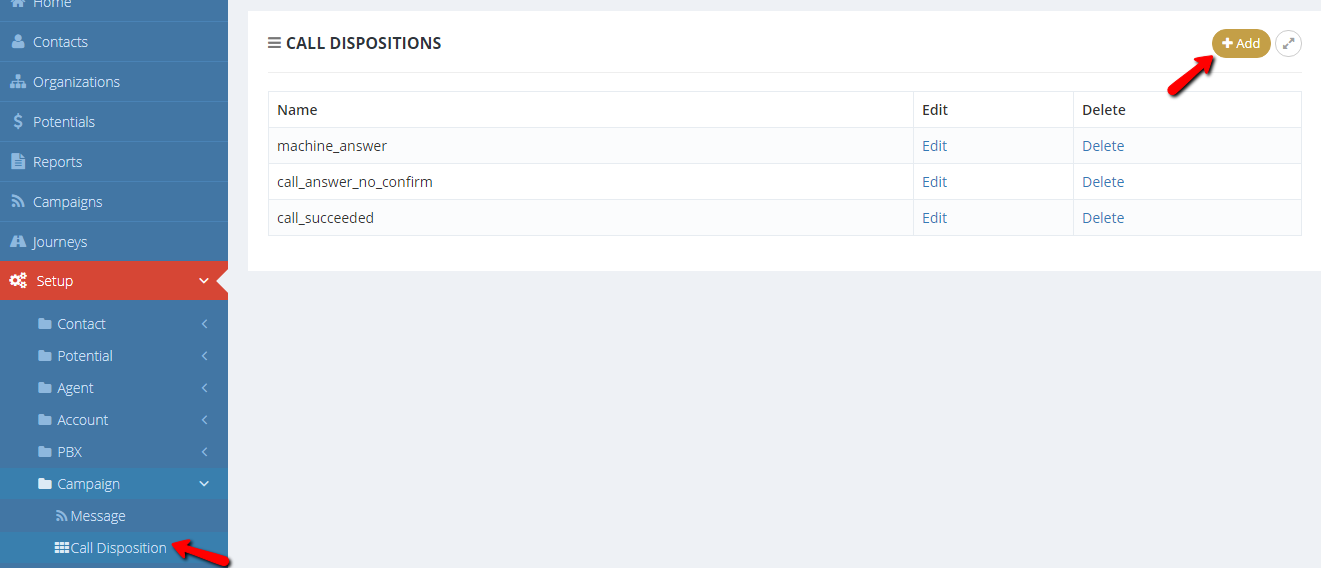
To set up call disposition rules, go to Set up>Campaign>Call Disposition and click “Add”
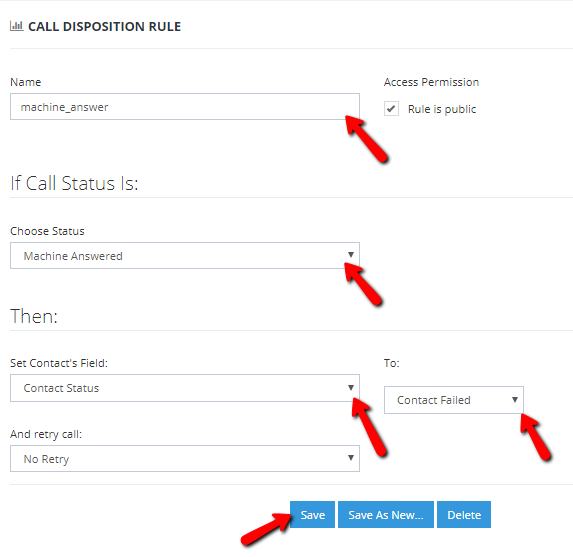
On the “Call Disposition Rule” window, type the name, if call status, set contact field, and to based on the following:
- The first one is “call succeeded” – live answer, has response – set Contact Status to ‘Contacted’.
- The second one is “call answer no confirm” – live answer, no response – set Contact Status to ‘Contact Failed’
- For machine answer and call failed – set to ‘Contact Failed’
4. Set-up an outgoing SMTP server for your email account.
Go to Set-up>Account>Email>Add. Type in the email address, user, server, password, and port. You may get email settings information from your IT personnel.

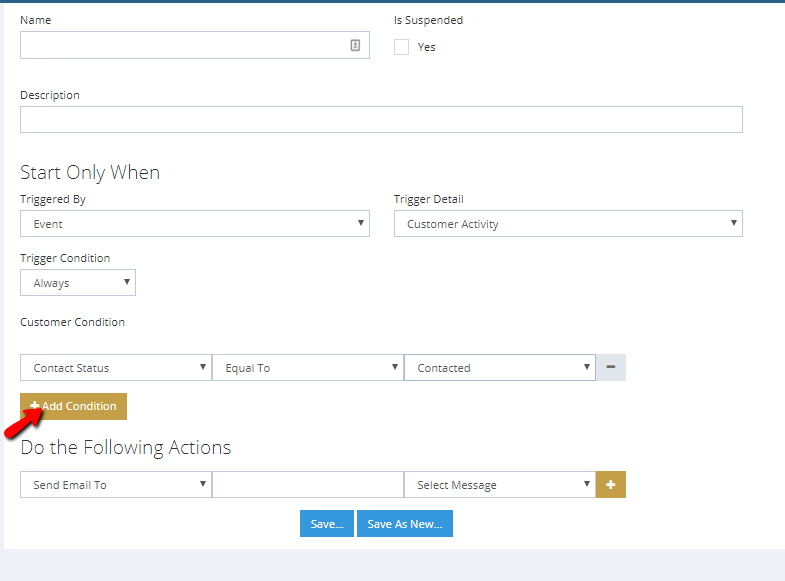
5. Triggers
We need three triggers.
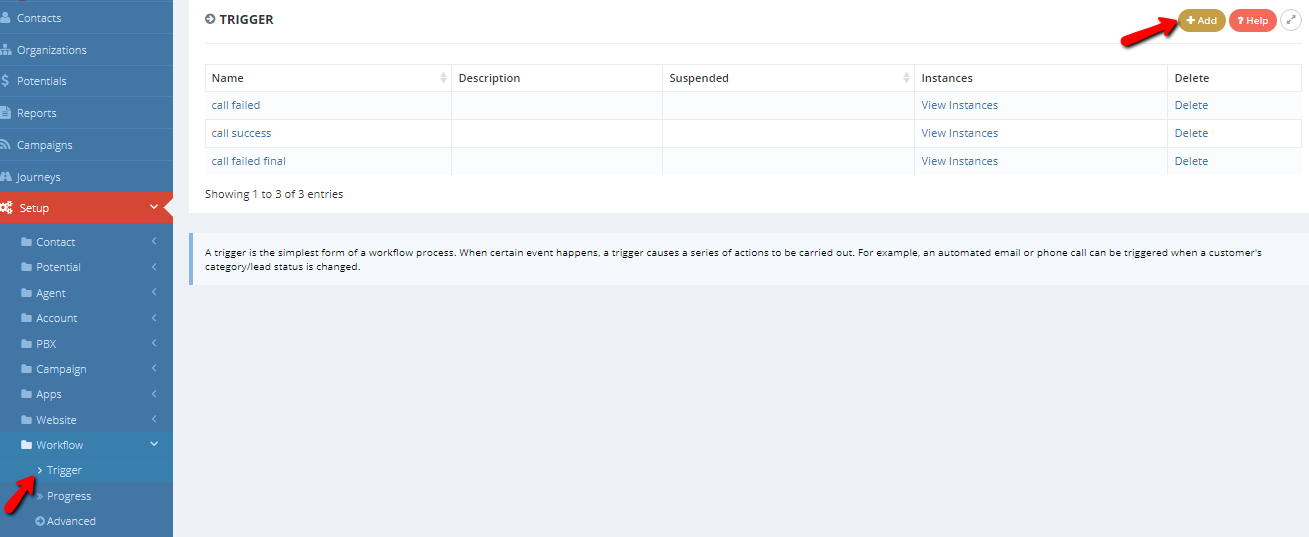
To set up triggers, go to Set up>Workflow>Trigger>Add
On the next screen, enter the name, description, conditions, and actions based on the following:
- “call success” – when contact status changed to ‘Contacted’, we send an email notify success, then clear Contact Status and calls_retried
- “call failed” – when contact status changed to ‘Contact failed’ AND calls_retried < 2, wait 2 minutes, increment calls_retried, clear Contact Status, then make an auto-dialer call to the number again
- “call failed final” – when contact status changed to ‘Contact failed’ AND calls_retried = 2, send an email notify failure
Test these triggers.
You do not need to wait for actual phone calls to test these triggers. These triggers will be activated when the Contact Status value is changed. Just go to any contact and manually change the Contact Status. This should trigger corresponding actions for emailing and increment calls_retried.
6. Run a campaign
Run an auto dialer campaign, select the designed message and the four call disposition rules. Whenever a call is made from the campaign, the corresponding disposition rule will be applied (Contact Status value will be set). It will then trigger workflow triggers based on the condition.
Share This Post: