
Share This Post:
Personalizing your text messages
You can customize or personalize your text message for each phone number on your send list.
In this example, we’ll customize the following message:
“Hi [Name], your account is overdue and your current balance is [balance]. Please submit your payment by end of this week. Thank you.”
The [Name] and [balance] is specific to each phone number (one row on the spreadsheet), and the text before and after [name] and [balance] are fixed.
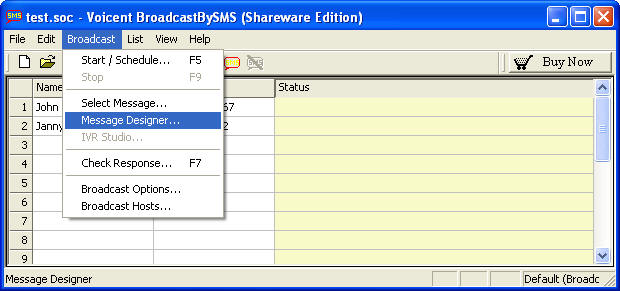
Invoke the Message Designer by selecting Designer > Message Designer… from the program main menu.
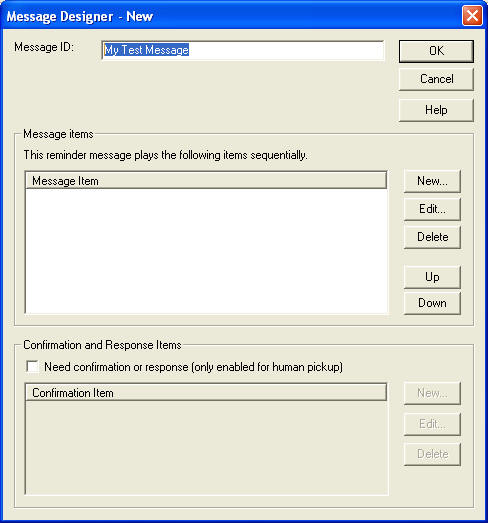
Then from the Message List dialog window, click the New Button.
From the Message Designer Window, enter the Message ID for your message.
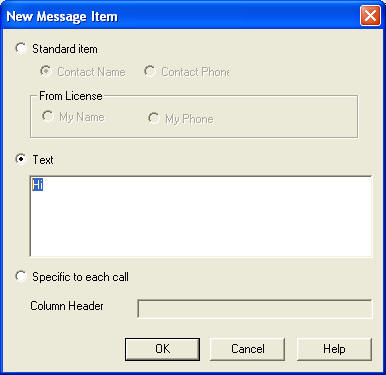
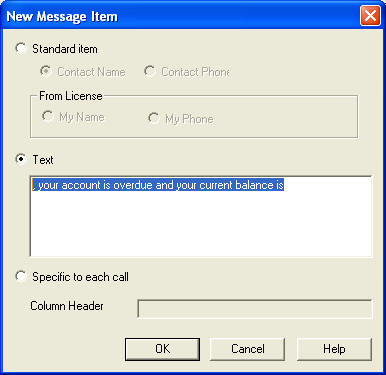
Next click on the New button inside the Message Items box. From the New Message Item dialog window, select the text radio button, then enter “Hi” in the box below:
Click the OK button to add the message item.
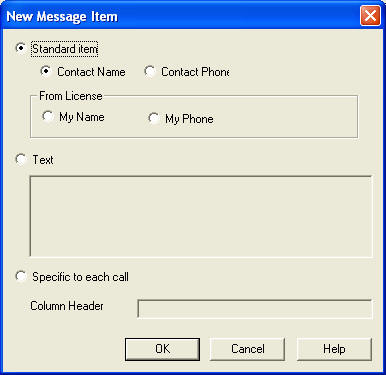
Click the New button to invoke the New Message Item dialog window. Select Contact Name radio button.
Click the OK button to add the message item.
Next click on the New button inside the Message Items box. From the New Message Item dialog window, select the text radio button, then enter “, your account is overdue and your current balance is” in the box below:
Click the OK button to add the message item.
Click the New button to invoke the New Message Item dialog window. Please select Specific to each call radio button, enter Balance as the column header.

Click the OK button to add the message item.
Repeat the previous step to add another text item for “. Please submit your payment by end of this week. Thank you.”. After that, your message items box should look like the following:
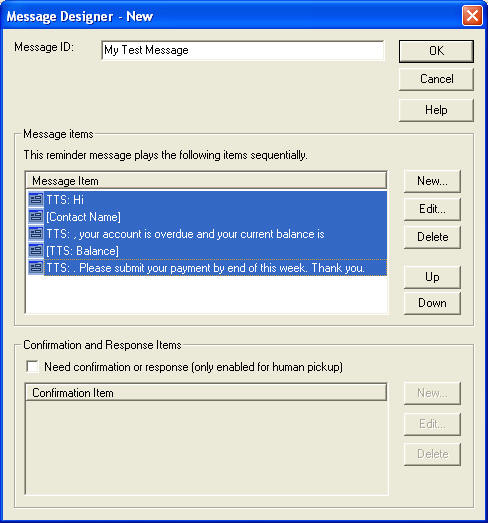
The actual text message sent will be composed by these message items sequentially, producing the desired message as shown in the beginning of the section.
Click the OK button to close the designer window.
IMPORTANT: In order to use the designed message, you must select it for your send list.
Select Broadcast > Select Message… from the program main menu.

From the Select Message dialog window, select the newly designed message

Click the OK button to continue.
Once the message is selected, a new column named Balance should be added the spreadsheet window.
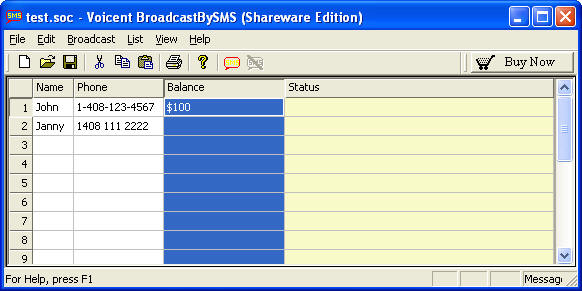
Enter balances and then save the send list.
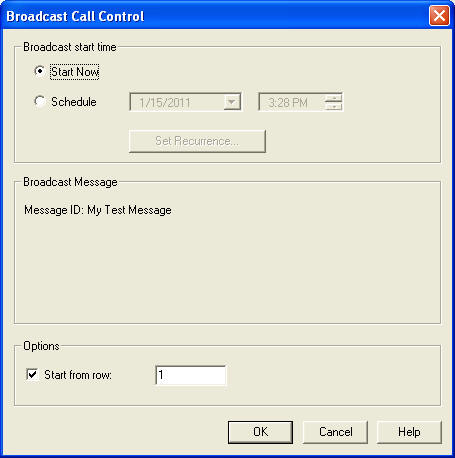
Click the SMS button to start broadcast. You should see the Broadcast Call Control window as follows. Please note that instead of a text box for you to enter the message, the Broadcast Message is listed as : “Message ID: My Test Message”.
Congratulations! You have successfully finished this topic.
Try this easy process now, by clicking here to download the text messaging software.
Share This Post: