
Share This Post:
Agent Groups
Agent Groups represent departments within an organization. Common examples of this would be: Sales, Support, Billing, etc. Agent Groups are utilized by allowing certain actions to be visible and impacted by any agent within the group.
For example: what if you want to transfer a call to anyone within the Sales department? With an Agent Group you can transfer a call to a group of individuals just like you would transfer to a single phone line. This allows any available agent to engage the caller, rather than have the caller wait for one specific agent.
To setup your Agent Group, start by navigating to Setup > PBX > Group. You’ll see a page like the following:
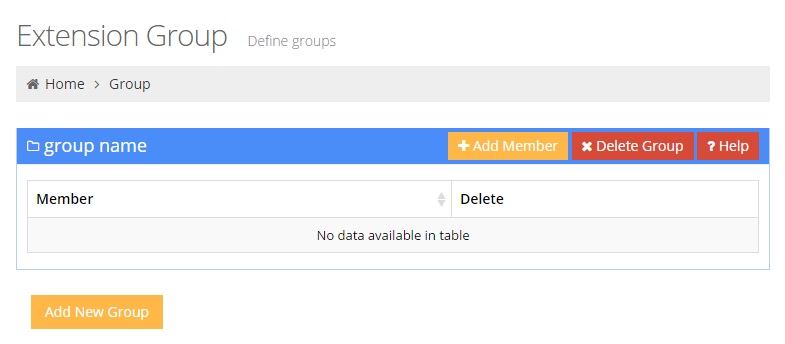
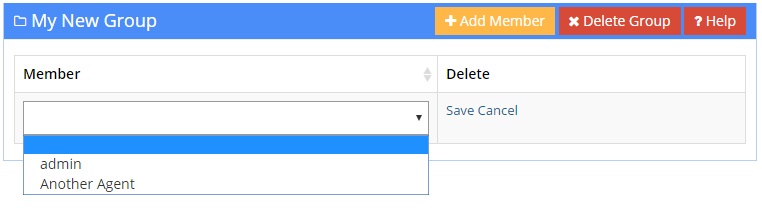
To create a new Agent/Ext group, click on the Add New Group button. A popup window will ask you what name you wish to give the group. Enter the desired name and then click OK. Now you’ll be able to add Agents to the Agent Group by clicking the Add Member button pictured below:
Once you’ve added some agents to the Agent Group, you can test it out by either manually transferring to the group using our Agent Dashboard software, or you can set up your Auto Attendant to transfer to your new group. To see how to set up your Auto Attendant to transfer to the new agent group automatically, read the following article:
Share This Post: